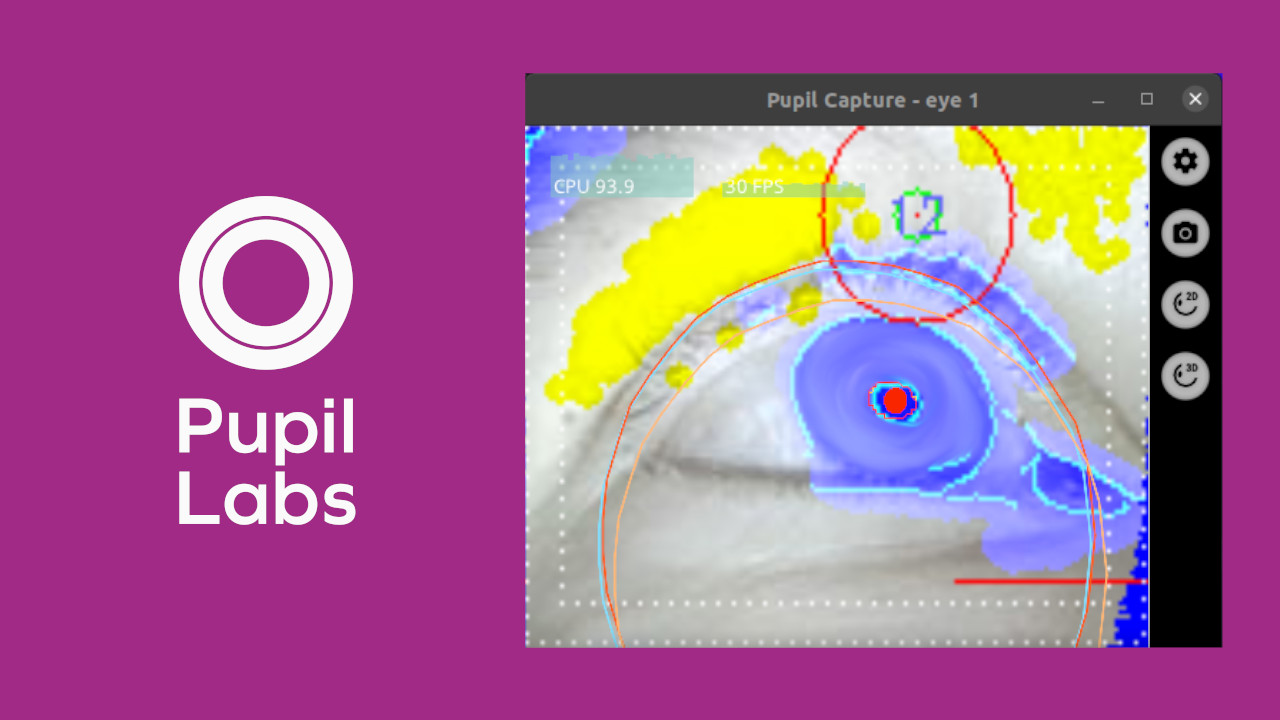
Pupil Core: A (Somewhat Technical) Eye-Tracking Software
 © IFB-Stiftung, Logo from Pupil
- Website: https://docs.pupil-labs.com/core/
- Type: Software and Hardware, Wearable Eye-Tracking
- Cost: Software is free. Hardware must be built.
- License: Open-Source (LGPL-3.0, GPL-3.0)
Pupil Core is an eye-tracking software usually used for market research. The intended setup is a headset with three cameras: one infrared camera in front of each eye, and one camera looking in the direction of the user's gaze – the "world" camera. The software’s technical user interface presents a steep learning curve, but those who push through it can achieve highly reliable tracking results.
Because of our different needs, we just need one infrared camera in front of one eye.
Requirements
To use Pupil, you need
- a laptop or computer, running Windows 10 or newer, or Linux,
- a wearable eye-tracker, and
- a file archiving software like WinRAR or 7-zip: https://7-zip.org/
We're assuming you are using Windows 10
While Pupil is available for both Windows and Linux, our instructions will be based on Windows 10 devices. However differences should be minor.
Installation
- Download the Pupil software: https://github.com/pupil-labs/pupil/releases/download/v3.5/pupil_v3.5-1-g1cdbe38_windows_x64.msi.rar
- Unzip the archive using software like WinRAR or 7-Zip.
- The archive contain an .msi-file. This is the installer.
- Run the installer and walk through the installation process.
- After installation, you should see three icons on your desktop: Pupil Capture, Pupil Player, and Pupil Services. We will exclusivelly work with Pupil Capture.
- Run Pupil Capture to see if the application runs. You should see a few windows opening, with headlines like "world", "eye0" and "eye1". If that is the case, than the installation succeeded.
- (Optional) We will only work with Pupil Capture, not with Player or Services. So, you can remove them from your desktop if you want.
Overview of Pupil Capture
The software Pupil Capture consists of three Windows, with the headlines "world", "eye0" and "eye1". This is because of the original purpose of the software, which is research. Pupil's headset usually consists of three cameras: One for each eye, and one looking into the direction of the gaze (the "world"). In our case, we just need one eye, e.g. the "eye0" window, and the "world" window for some general controls.
The "World" Window
In short:
We need this window just for resetting the software, in case we mess up our settings too much. We do that on the right sidebar under "General Settings" > "Restart with default settings".
A little more context:
The World window is usually the main control center. It would display the world camera footage. While we don't need a world camera, the "world" window contains some general controls. In the center you may see some colored log messages showing up, which may give you a hint on the wellbeing of the application. On the left you see a few buttons. If we would have the full three-camera setup, we would have used those for starting a calibration or recording. Since we don't have such a setup, we can ignore them. Only the sidebar on the right is important for us. Under "General Settings" > "Restart with default settings" we can reset the application in case we messed up our settings too much.
The "eye0" Window
The "eye0" Window is the one we will mostly work in. In there we will setup our eye-tracking. At the beginning the window consists of one big gray area, which will later show the camera footage. The sidebar on the right shows all the settings. Under "Video Source" you can select the camera you want to you use, adjust its brightness, resolution, and more. Under "General Settings" you can switch between different modes of how you detailed you want to view the camera footage, and define the area in the image you want to scan ("range of interest", or "ROI"). Under "Pupil Detector 2D" you can adjust how the pupil is detected. Under "Pye3D Detector" you can adjust how the eyeball is calculated.
